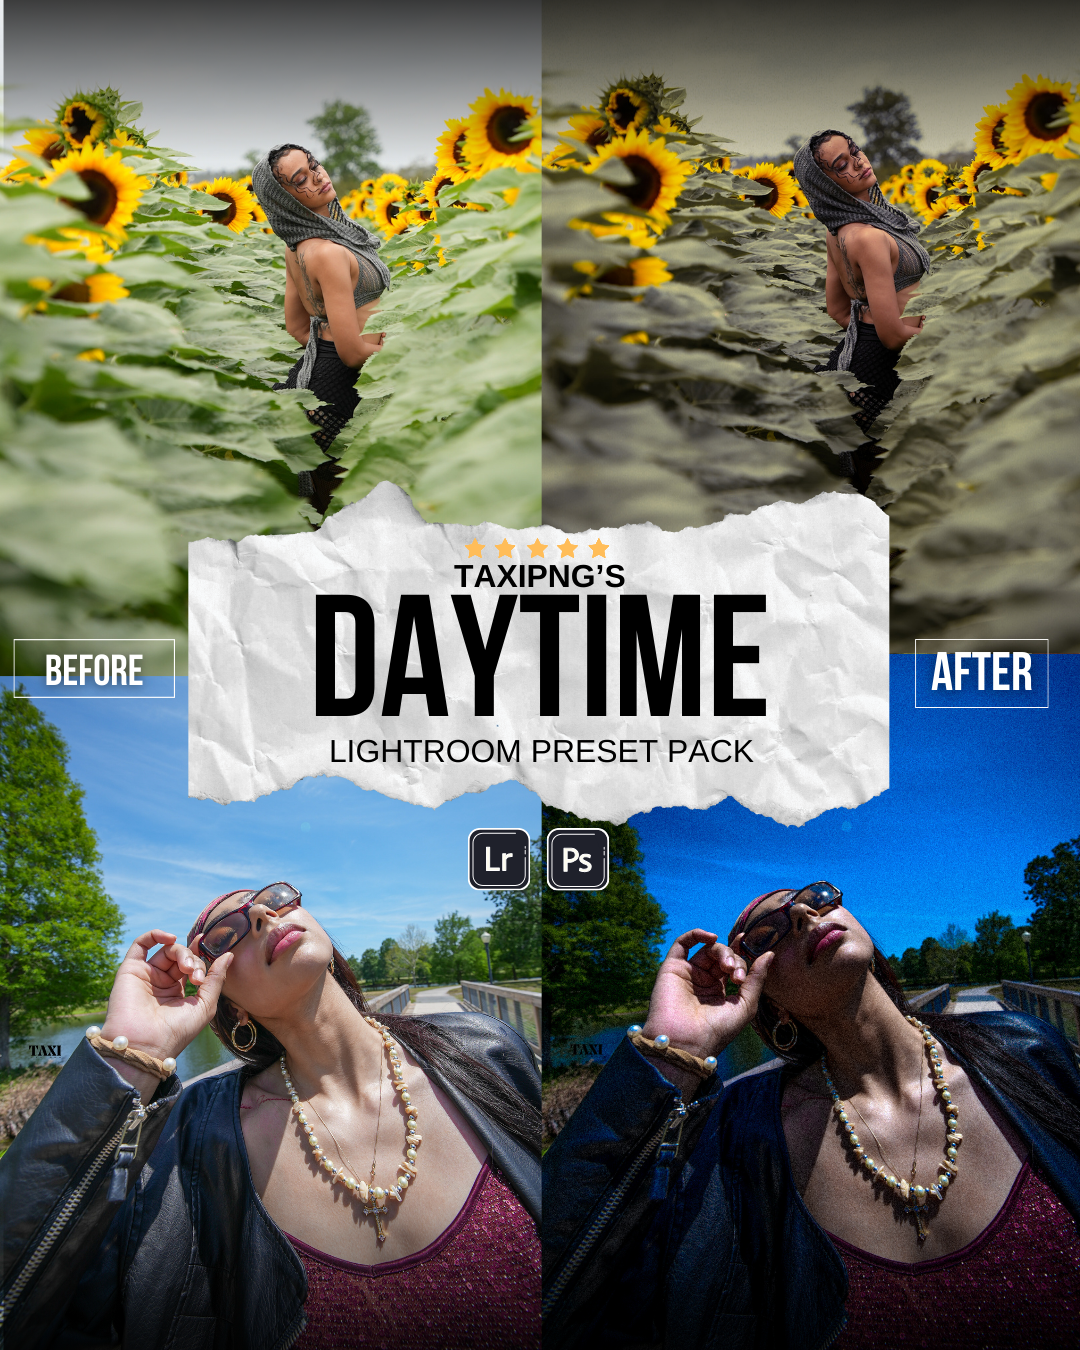
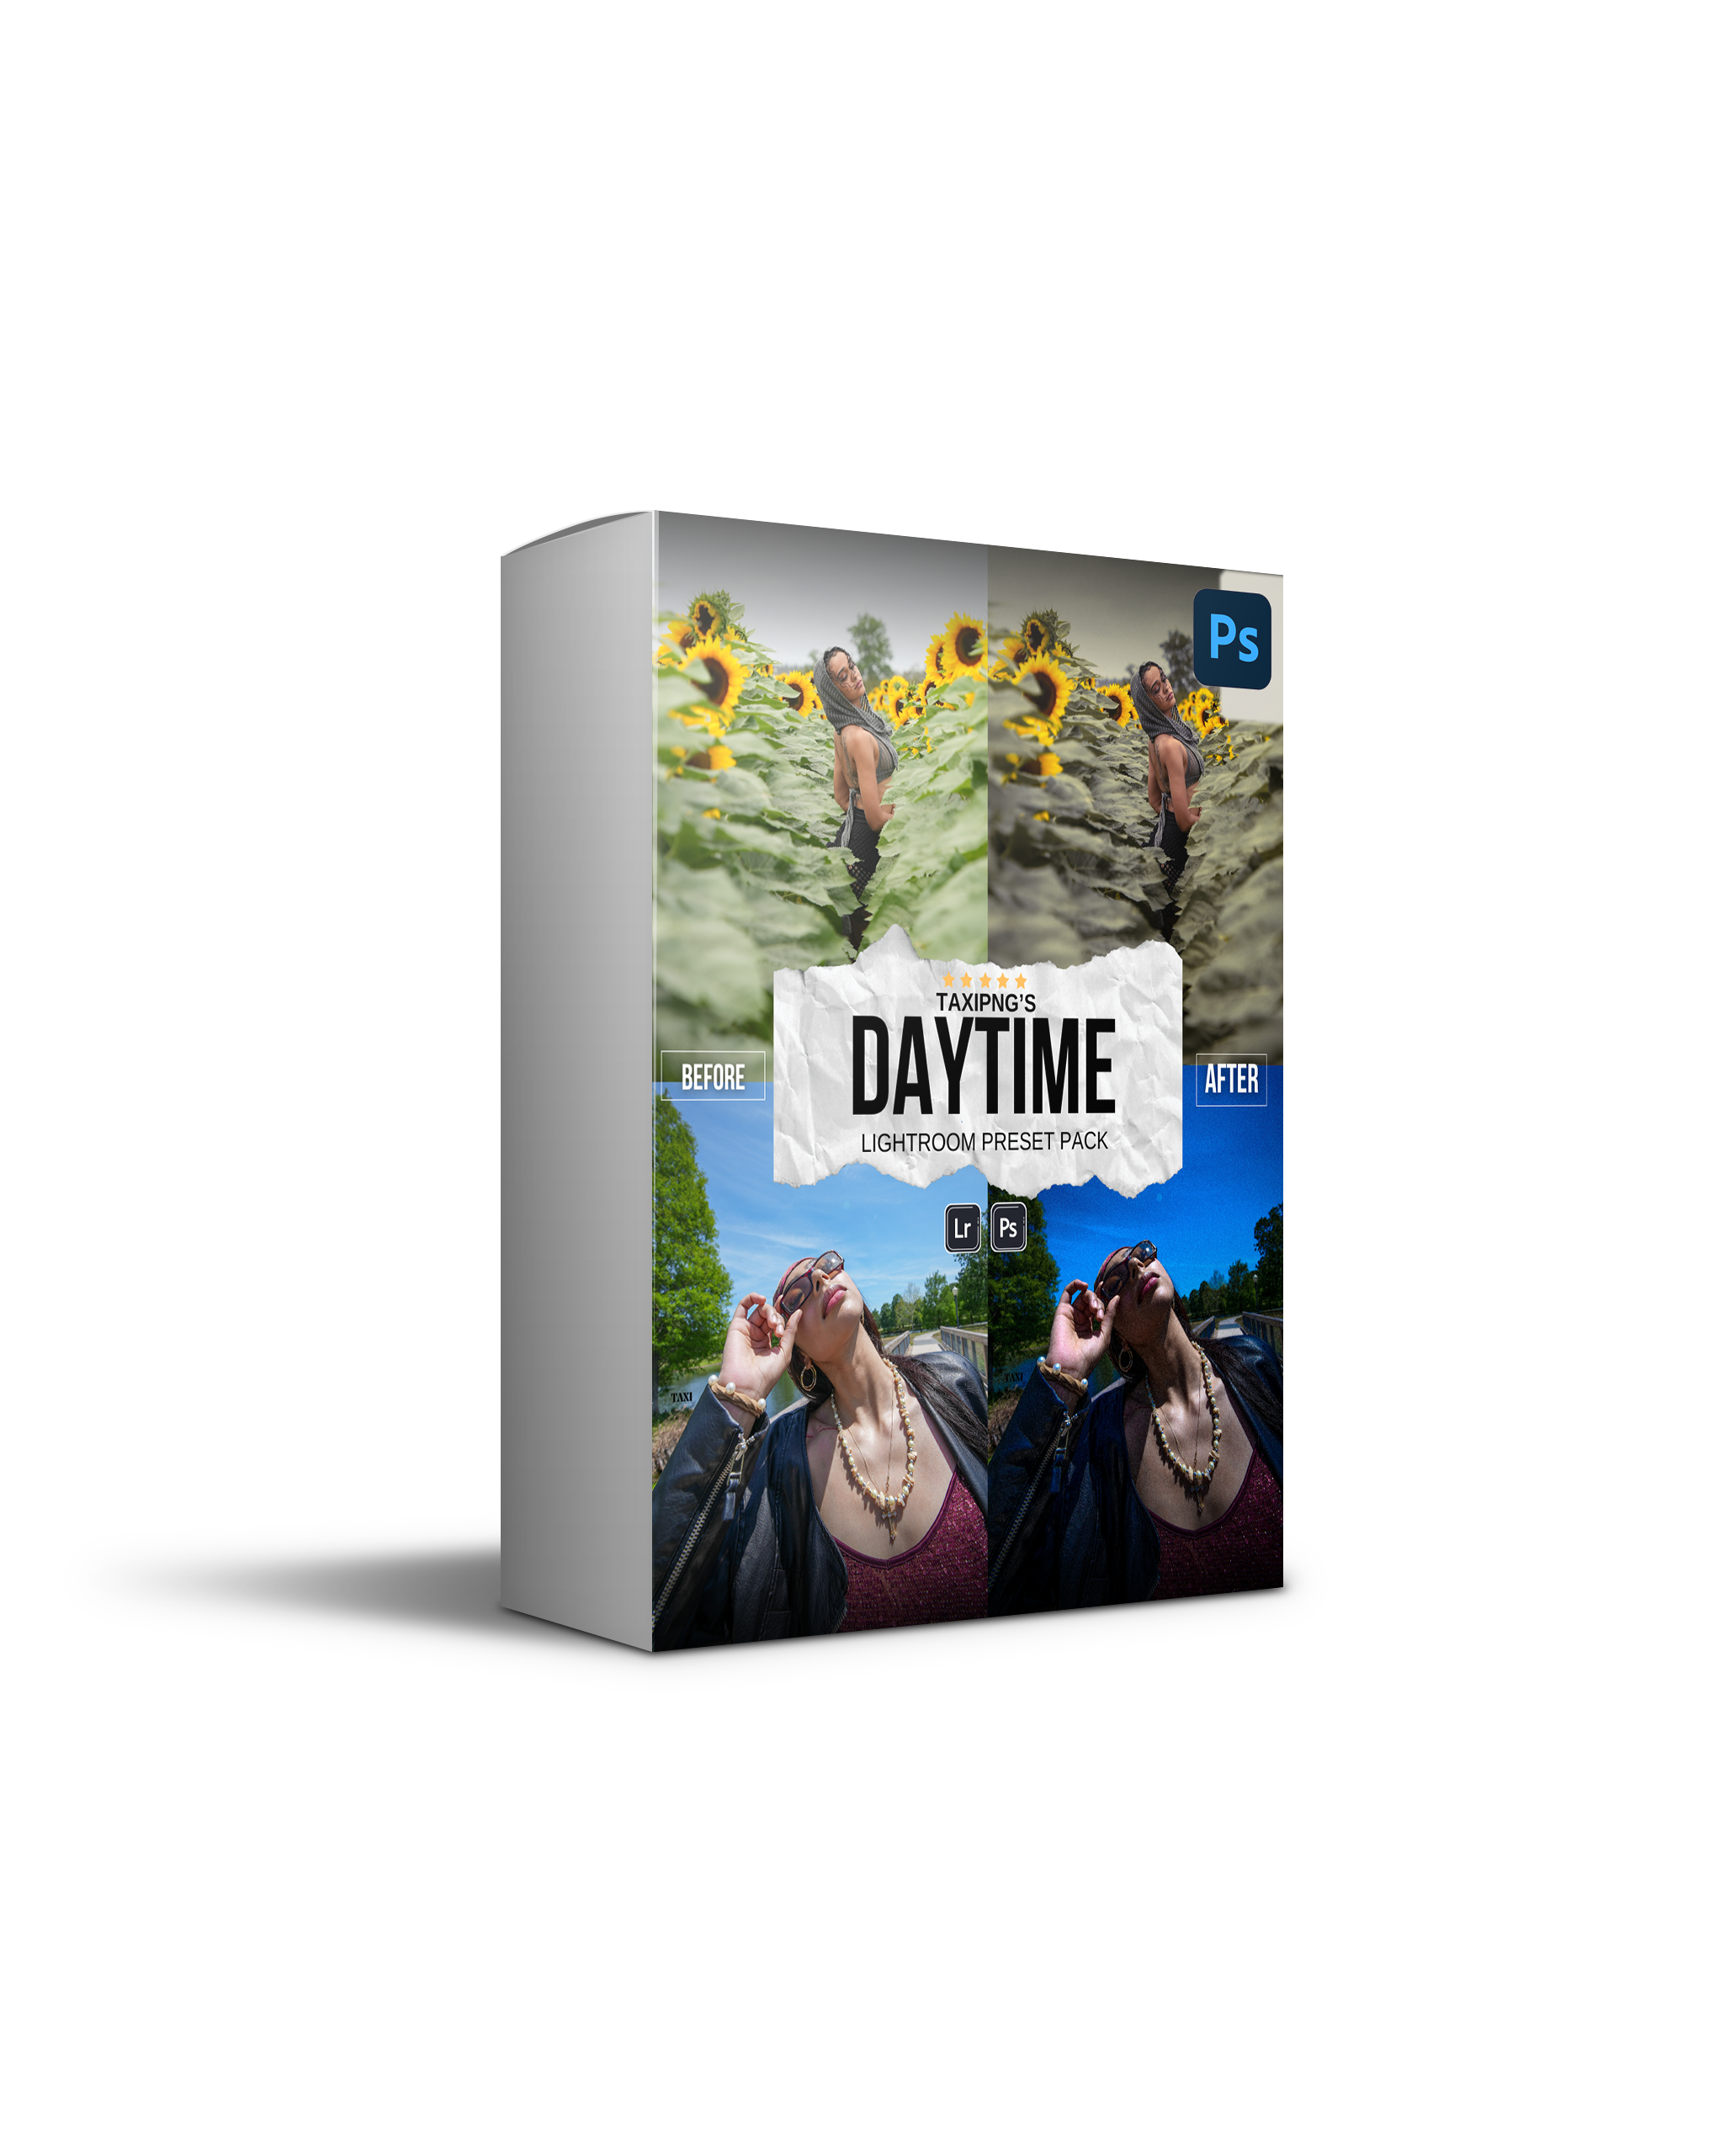
Daytime Presets | Volume 1
Introducing our Daylight Preset Pack:
Designed for photographers who love to chase the sun, these presets bring out the best in your daytime shots with warm, inviting tones and stunning clarity. With just one click, effortlessly enhance your photos and transform them into captivating works of art. Whether you're capturing nature, architecture, or portraits, these presets add a touch of magic to every image, making it easier than ever to create professional-quality photos. Elevate your daytime photography with ease and style.
-
This Pack Includes 10 Daytime presets for Lightroom
A Variety of Daytime Vivid, Black and White & Grain Presets that are FULLY CUSTOMIZABLE.
-
They are not a ‘one-click’ solution. Knowing your way around Lightroom will help you use these presets to the best of their ability. Adjustments will need to be made to each photo’s settings. All preset purchases are final.
-
*Key Editing Tip : Lower or Increase the Exposure & Shadows as needed to get the best look to fit your specific image
-
How to Import :
Importing Lightroom presets to your Lightroom desktop is easy:
Download Preset Files: First, download the preset files to your computer.
Open Lightroom: Launch Lightroom on your desktop.
Go to the Develop Module: Click on the "Develop" module in the top right corner of the screen.
Find Presets Panel: On the left side of the screen, you'll see a panel. If you don't see it, click on the arrow to expand it. Look for the "Presets" tab.
Click on the "+" Button: At the top of the presets panel, you'll see a "+" button. Click on it, and a dropdown menu will appear.
Choose Import Presets: Select "Import Presets" from the dropdown menu.
Locate Preset Files: A window will pop up. Navigate to where you saved the preset files on your computer and select them. You can select multiple preset files at once.
Click Import: After selecting the preset files, click the "Import" button.
Find Your Presets: Your imported presets will now appear in the Presets panel under a new folder with the name of the preset pack you imported.
Apply Presets: To use a preset, simply click on it in the Presets panel. Lightroom will apply the preset to your photo with just one click.
That's it! You've successfully imported and applied presets to your Lightroom desktop.
-
How to Import On Mobile :
Import presets to Desktop version of Lightroom first
Apply Presets to Photos In Lightroom Desktop ( Make sure these images are save d to your “Lightroom cloud”
Open Lightroom Mobile and Locate the Images where the presets were applied to
Now you will Be able to Open Presets Panel on Mobile and See the Taxipng Lightroom Presets Group


